
 English
 Svenska
Categories
Adjusting your storefront design
Customize your storefront's product cards, product pages, categories, and navigation.
On this page
You can seamlessly add your store to any website. The default storefront design fits any existing site.
To tweak the storefront’s look and feel, you can use the built-in design options in the Design section of your store admin. Choose whatever image size, product card layout, category name position, and much more you want. Once you update the settings, they are immediately reflected on the store within your website.
What makes a storefront?
The storefront is the actual store where customers browse for products. Here is what makes up your storefront:
- Product list with product cards on it
- Product pages
- Store categories
- Navigation elements
Read on to learn how to tweak the design for each of them on the Design page in your store admin.
More checkout settings
On the Settings → Cart & Checkout page, you can additionally customize your store’s checkout, set the default product sort order, choose where and how the “Compare to” price is displayed, enable favorites so customers can like items to keep them for the future, and more.
Designing the product list and product cards
The product list is the grid on the category pages or on the front page of your online store. The list is made of individual product cards that contain an image and content to give your customers a brief overview of a product.
Here is how a product card on the product list looks:
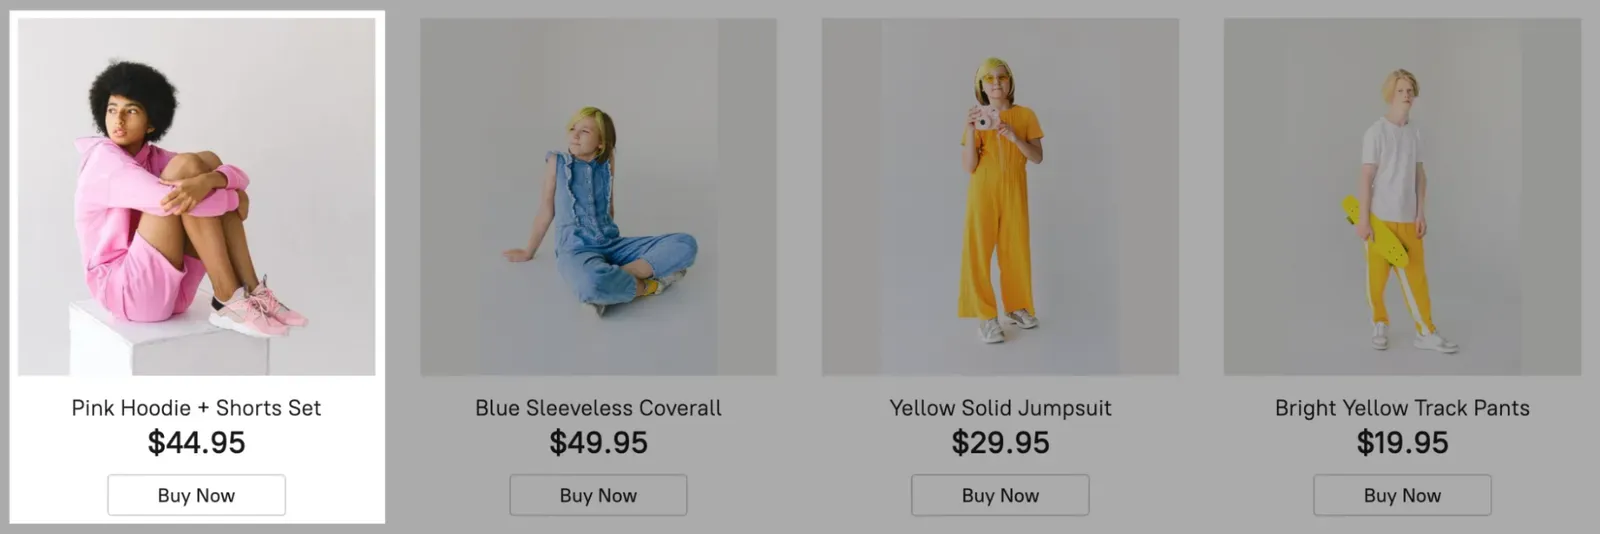
You can adjust the image size and aspect ratio, hide or display elements like price, SKU, or the “Buy Now” button, and more using the built-in design settings. For example, portrait image orientation is great for showing apparel, and large-size images are best for showcasing jewelry details, home decor elements, and so on.
The same image size and aspect ratio that you set for your product list are automatically applied to category images in your store.
To adjust the product list and product card design:
- From your store admin, go to Design.
- In the Image size, Image aspect ratio, and Product Card details and layout sections, make the design changes you need.
- The changes are saved automatically.
Hover details on mobile
Showing details on mouse hover does not work for mobile customers, since there is no mouse device on phones.
Setting up the product page layout
The product page is the page of a particular product in your store with all its details. Customers can access product pages by clicking a product card in the list, or by direct link.
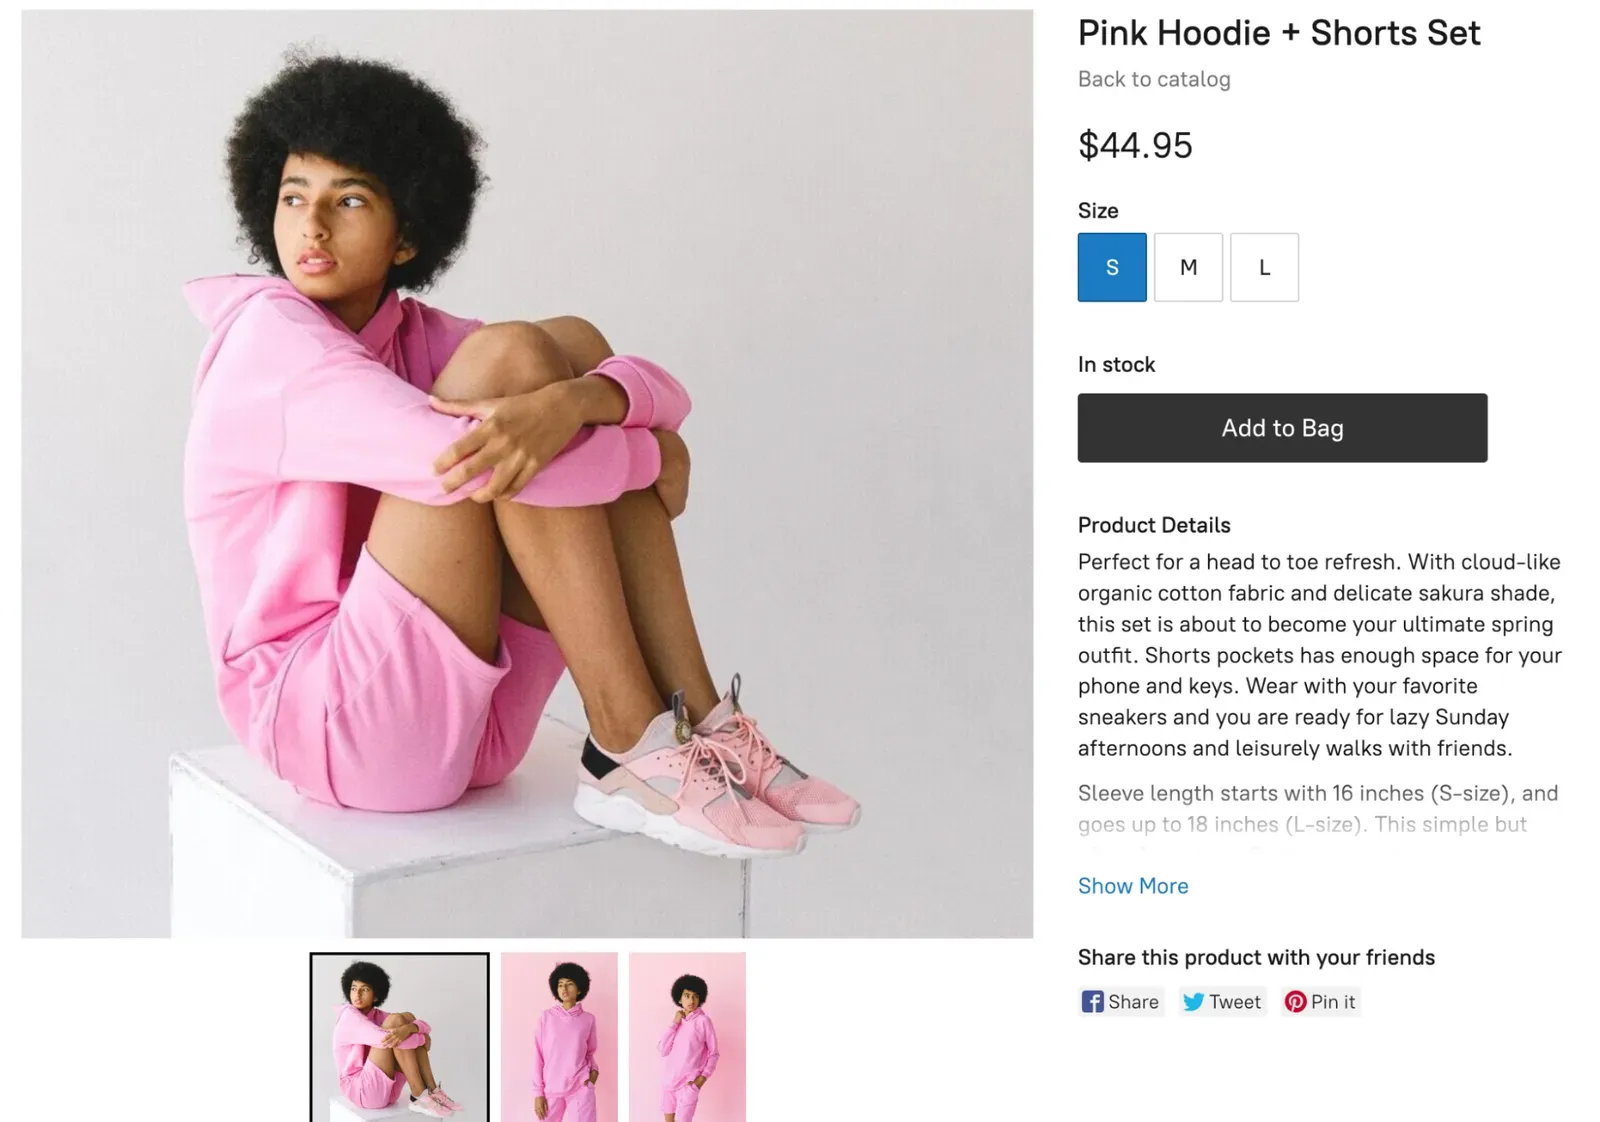
You can set the product page layout and determine whether or not to show subtitles, SKUs, social media buttons, and other information depending on your business needs.
You can also choose the layout for image thumbnails on product cards. For example, if you have a gallery of high-quality photos for your products, it is better to show full-size images so customers can pay attention to all of them. Additionally, you can zoom in on the main product image on hover.
To adjust the product page design:
- From your store admin, go to Design.
- In the Product Page layout, Image Gallery thumbnails, and Sidebar sections, make the design changes you need.
- The changes are saved automatically.
Adding options to product pages
To add dropdown choices, custom text fields, file upload, and more to product pages, you can use options and input fields.
Setting up category name and image display
By default, all the products that you add to your store appear in the default category that is featured on the main page of your store. If you create more root categories or subcategories to make it easier for customers to navigate your store, they are displayed as a list:
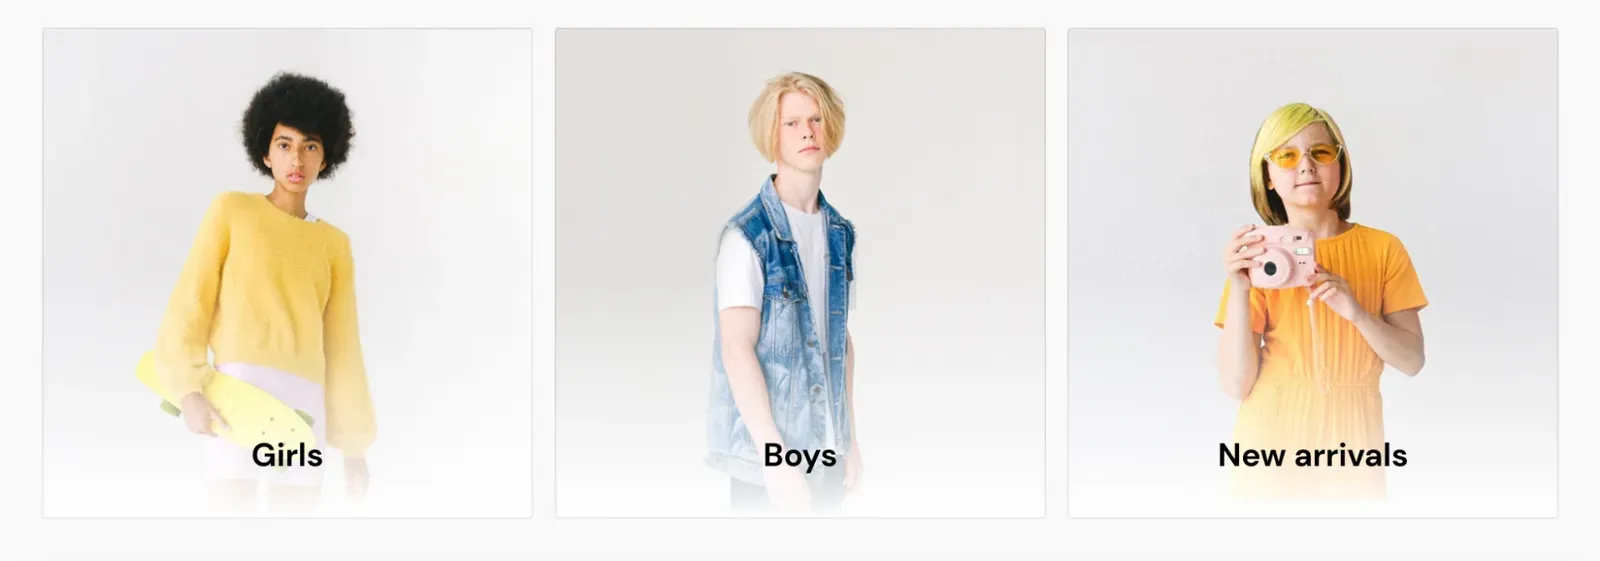
You can choose where to display category names, or hide names or category images completely. The category image size and aspect ratio are the same as the ones you set for your product list.
To set up category name and image display:
- From your store admin, go to Design.
- Scroll down to Category name position and choose your option.
- The changes are saved automatically.
In Design → Storefront additional settings → Category view, you can also expand root categories to display the products they contain right on the store’s front page. For example, if you run a restaurant and want to showcase all the menu sections right away.
Renaming Featured Products
You can rename the Featured Products section if you want to give it a custom heading to fit your tone of voice.
Adjusting navigation
Each store has a number of navigation options that create a better customer experience, such as “Previous” and “Next” arrows to switch between products, breadcrumbs, a sorting option, product filters, and the store’s bottom navigation menu, including the “Sign in” link.
It is up to you to show or hide these elements. We recommend showing them to make it easier for buyers to purchase in your store. You can adjust the storefront navigation in Design → Storefront additional settings and in Design → Navigation.
More ways to tweak your storefront design
Customizing your storefront is just a matter of your imagination and determination. For a more detailed setup of your store’s design, you can use additional tools:
- Product ribbons and product subtitles: colored labels and short captions that make products stand out on a storefront.

- Animated images: upload a .gif file as your prime product image, and it appears on the storefront:
- Banners on the storefront: to draw customers’ attention to your hot deals, a seasonal sale, social media, or anything else, you can add a banner to your storefront. The banner can be added to the store front page or to any of the category pages.
- App Market: here you can find apps that can be used to customize your site and store the way you want.
- In-depth customization options such as CSS codes, custom development, and API.
Related articles
- Introduction to product inventoryTrack product stock, choose out-of-stock behavior, and prevent overselling in your online store.
- Setting up taxesSet up automatic or manual taxes so the right rates apply at checkout.
- Choosing a shipping strategy for your storeCompare shipping strategies and set up shipping methods, origin, and zones for your store.
Can’t find what you need?
Contact our team. We’re here 24/7 by email and ticket.