
 English
 Svenska
Categories
Setting a custom sender email for store notifications
Send store notifications from your own domain by setting a custom sender email address.
On this page
A custom sender email address for your store’s notifications lets you personalize customer communication, build trust, and promote your brand.
By default, your store’s customer order notifications and marketing emails are sent from a default no-reply address provided by your store. If you have an email address on your own domain (for example, info@companyname.com), you can set it as a custom sender address for your store’s notifications.
Public email domains are not supported
Addresses on public email service domains (like companyname@gmail.com on Google or companyname@yahoo.com on Yahoo) cannot be set as a custom sender email address.
Creating a custom email address on a domain
Before you start setting up a custom sender email address in your store admin, you need to have an email address on your domain. This boils down to:
- Having your own domain (for example,
www.companyname.com). If you do not have a domain yet, you can buy one from a domain registrar. - Signing up with an email hosting provider like Google Workspace (opens in a new tab) or Microsoft 365 (opens in a new tab) and connecting your domain to it (your domain registrar may also provide email hosting services). This includes specifying your domain on the email service side, verifying its ownership on the domain registrar side, and changing your domain’s MX records to point to your email provider’s mail servers. This way, you start getting emails sent to your custom email domain in your email provider’s inbox.
- Creating a custom email address on your domain (for example,
info@companyname.com) with your email hosting provider.
For detailed instructions, consult your domain registrar and email hosting provider help centers and support.
Setting a custom email address for your customer notifications
You can set an email address on your own domain as the sender’s address for your store’s customer notifications. This address is used instead of the default no-reply address provided by your online store.
Setting up a custom email address in your store admin requires verifying custom email ownership and adjusting the following DNS settings in your domain registrar’s account:
- A DKIM (DomainKeys Identified Mail) DNS record that authenticates that emails sent to your customers come from your domain.
- A Return-Path DNS record (or custom return path) that defines where notifications about bounced email messages are sent.
To set a custom email address for your customer notifications:
- From your store admin, go to Settings → Notifications.
- Scroll down to the Sender’s email address section and click Edit.
- On the opened page, click Confirm to state that you own a custom domain.
- Enter the custom email address on your domain that you want customers to see when they receive your emails (for example,
info@companyname.com). Click Next. - Check your inbox for the verification email for your store and click the link to verify that you own the address. You are redirected back to the custom email address setup page in your store admin.
- Click Generate DNS Records to get your unique DKIM and Return-path DNS credentials and a custom email address setup guide.
- Log in to your domain registrar account and manually set up the DNS records using instructions from the guide. You can consult your domain provider’s help center or support for detailed DNS setup guides.
- A background check runs. Wait until authentication takes place. When the authentication is complete, you get an email. DNS record authentication can take up to 48 hours, but it is usually faster.
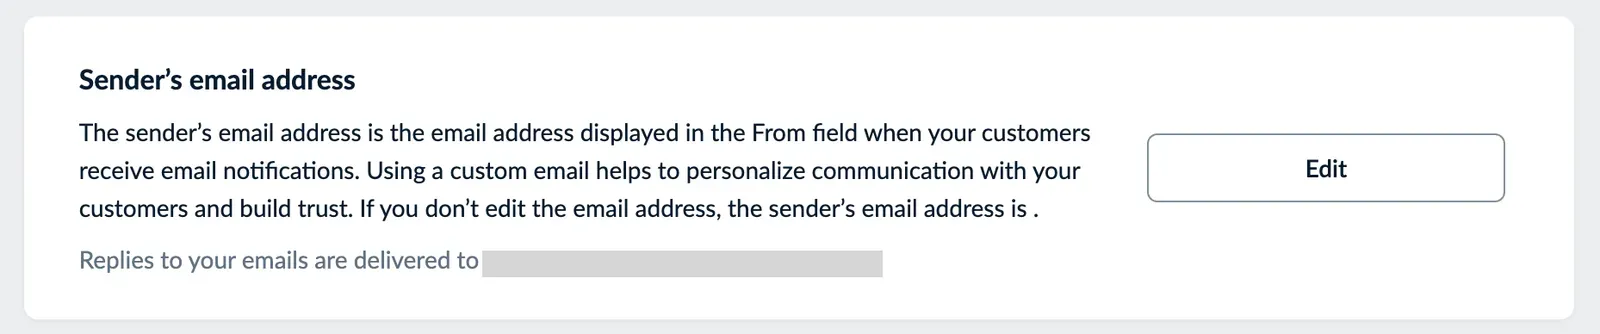
That is it. Your custom email address is used for your store’s customer order notifications and marketing emails instead of the default no-reply address.
You can always view and edit your current custom email address by clicking Edit next to the Sender’s email address section on the Settings → Notifications page.
Complete authentication within two weeks
If DNS records are not authenticated within two weeks, setup of your custom email address is not completed and the default no-reply address continues to be used. You can run the authentication process again to set up a custom email address.
Related articles
- Introduction to product inventoryTrack product stock, choose out-of-stock behavior, and prevent overselling in your online store.
- Setting up taxesSet up automatic or manual taxes so the right rates apply at checkout.
- Choosing a shipping strategy for your storeCompare shipping strategies and set up shipping methods, origin, and zones for your store.
Can’t find what you need?
Contact our team. We’re here 24/7 by email and ticket.