
 English
 Svenska
Categories
First steps in the Website Builder
Complete the Site Setup Wizard and get to know the editor.
On this page
Before you customize your site, the Website Builder walks you through a short setup. This article covers those first steps.
The Site Setup Wizard
After you sign up, the Site Setup Wizard helps you get started. You fill in a few basics about your site so you can focus on customizing it later. The wizard has up to five steps, and you can leave it at any time by clicking Skip in the top right corner.
Step 1: Choose what kind of website you want
Pick a category, or start typing the kind of site you want to create, so the builder can show you relevant templates. If your niche is unusual and you cannot find an exact match, choose the closest option for the best template suggestions, then click Continue.
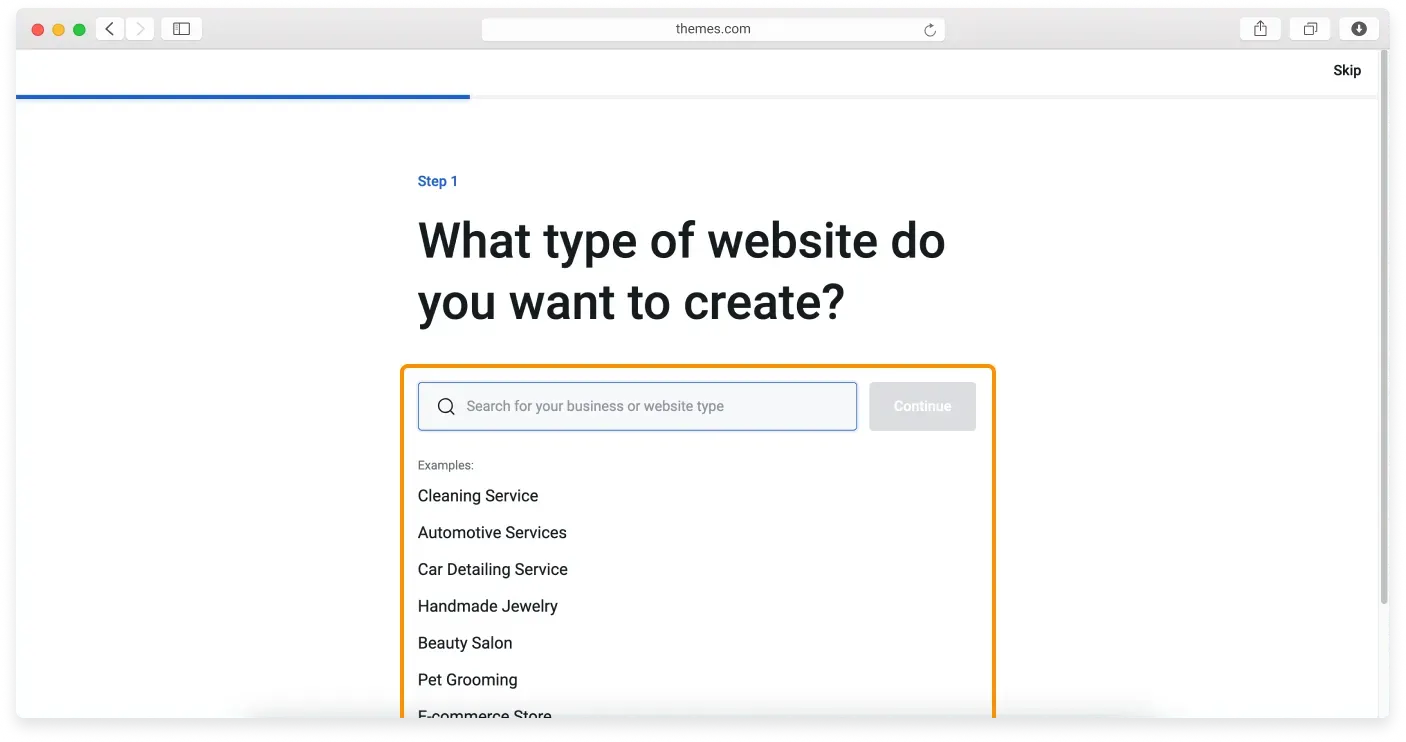
Step 2: Choose a template
Templates come with sample images and text that you can change later. They are grouped into categories to make choosing easier. Each template has two buttons: Preview and Start editing.
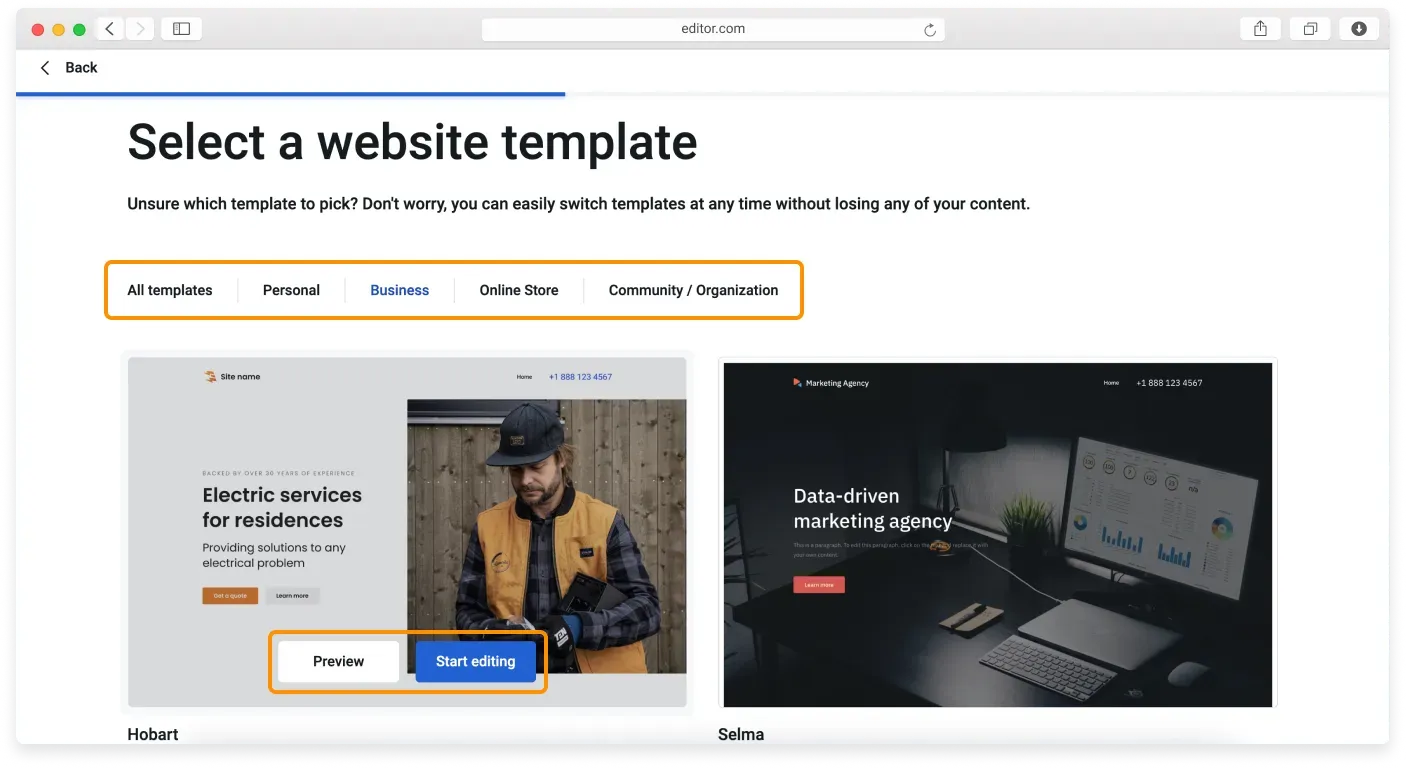
Click Preview to see a template full size and check how it looks on different devices.
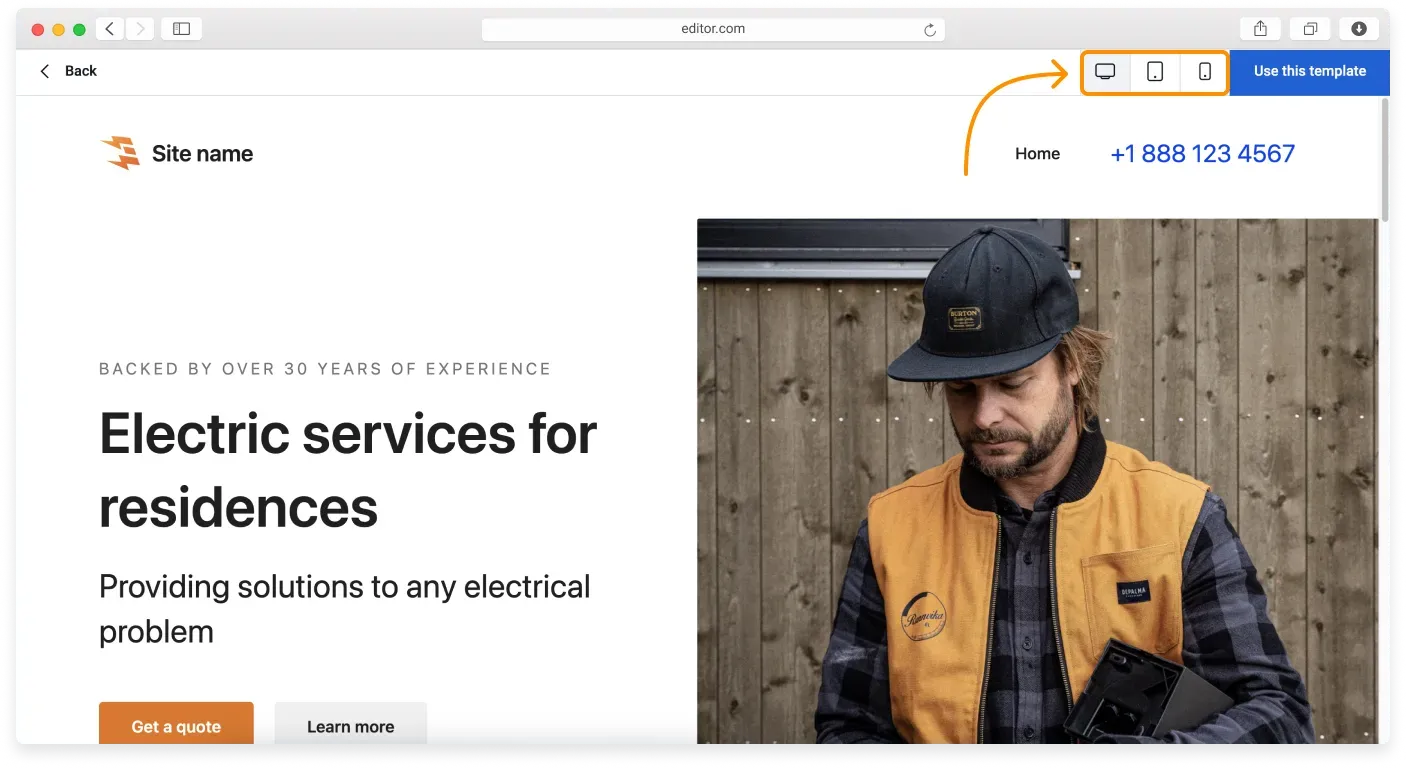
When you find the one you want, click Start editing to continue.
Step 3: Add your basic information
Enter your website name if you have one. The wizard suggests a default based on your registration details, which you can keep or change. You can also set your website language here. Click Continue when you are done.
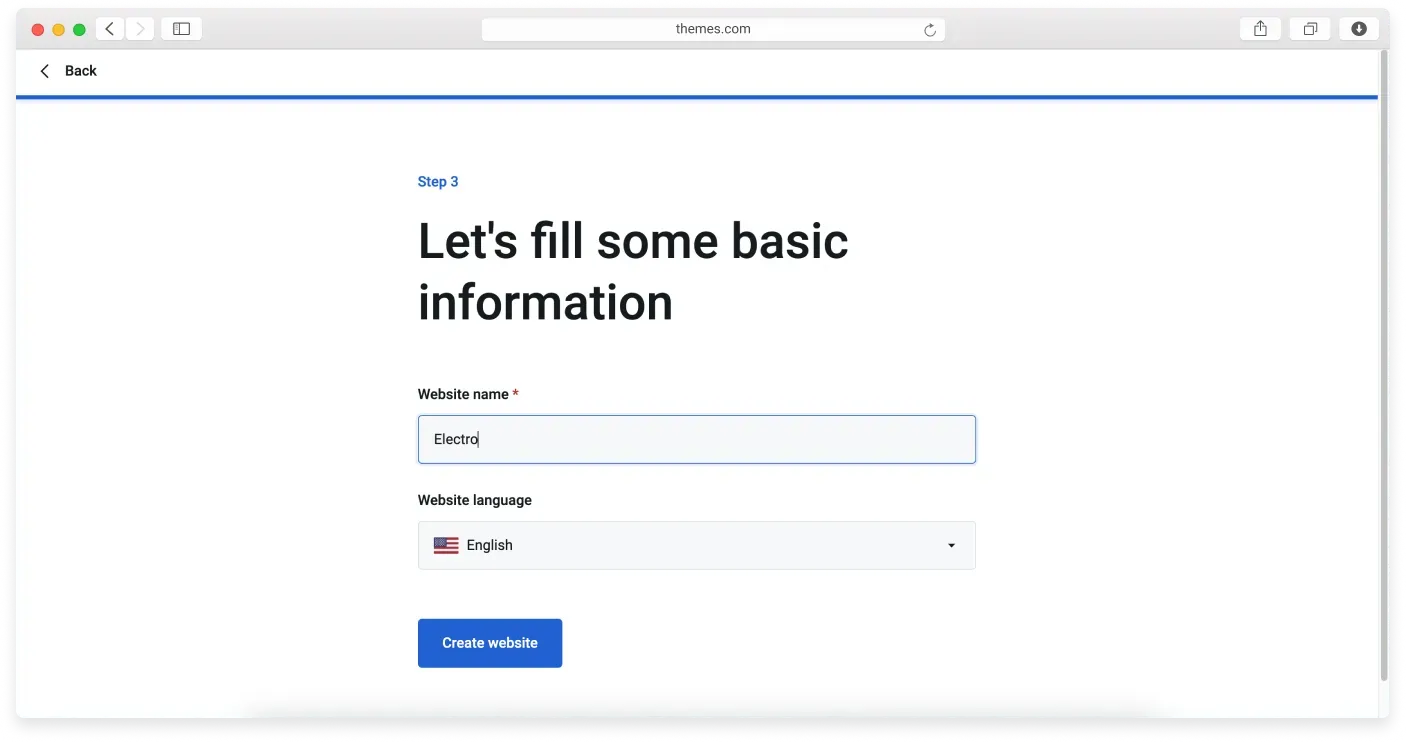
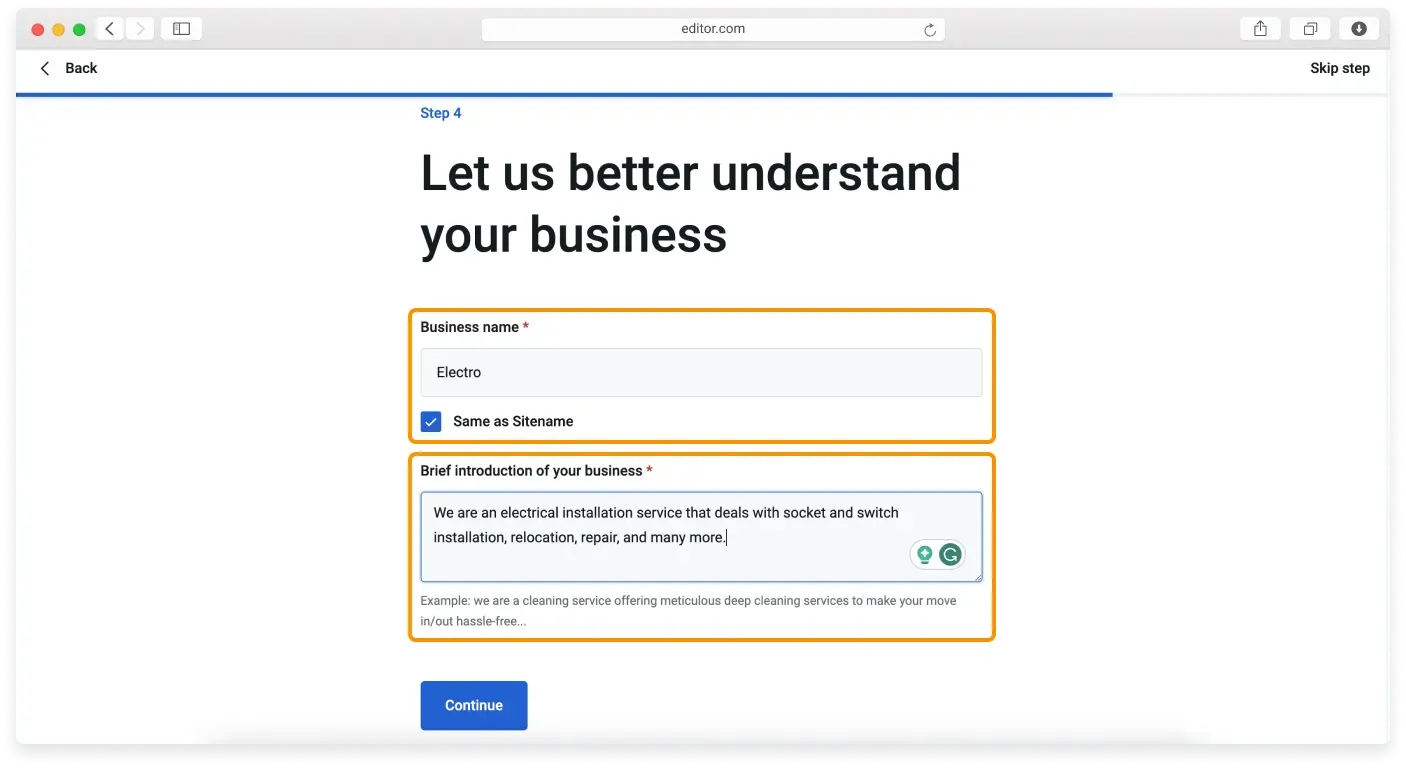
Step 4: Tell us about your business
Add a business name as an alternative to your site name, or keep them the same by ticking the checkbox. You can also add a short introduction to your business, then click Continue.
Entered once, used everywhere
The details you add during setup are automatically added to your website forms, so you do not have to type them again each time you add a block or page. You can skip any step with the Skip step button in the top right corner.
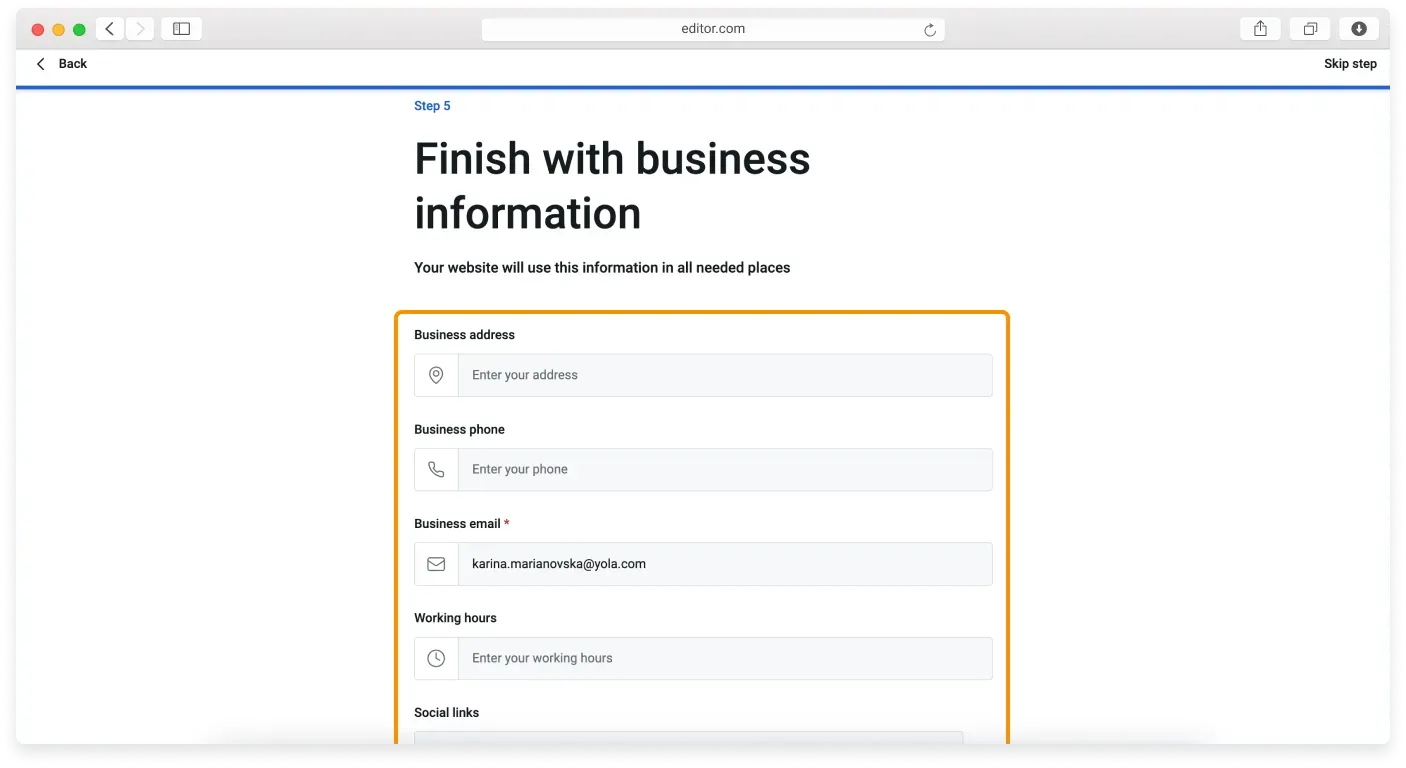
Step 5: Add your business details
Fill in details such as your business address, phone, email, and working hours. This information appears automatically in the right places on your site, like the header, the footer, and the contact block. Click Finish setup to open the builder.
Different site types
Setup is the same for Online Store and Community or Organization sites. For a Personal website, you do not need to add business information.
Your new site in the builder
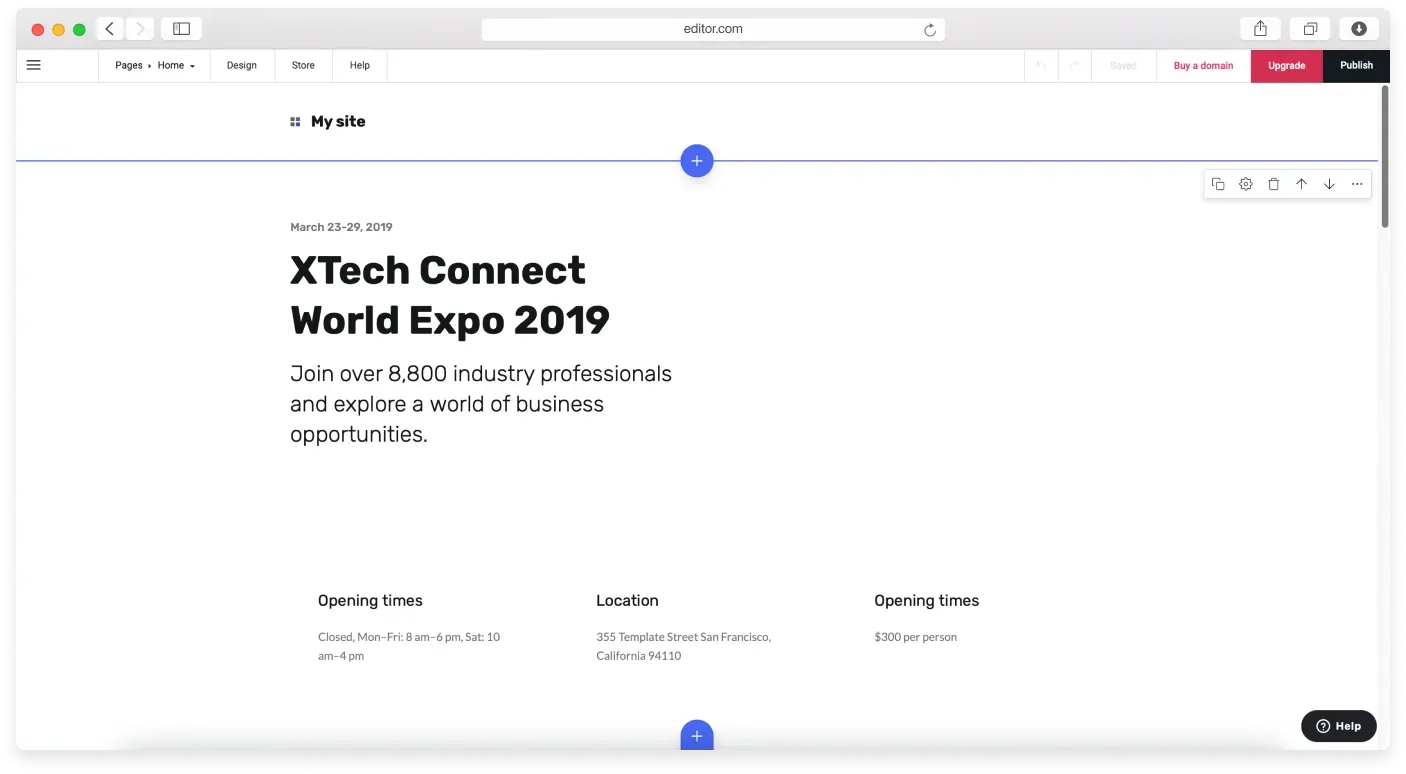
After setup, the builder opens with a basic layout: a header, several content blocks with sample images and placeholder text, and a footer. Now you can focus on adding your own content and extra blocks.
Building on mobile
You can build your site on any device, including a phone or tablet, with no special app. Just open your account in your device’s browser and you go straight to the builder.

Related articles
Can’t find what you need?
Contact our team. We’re here 24/7 by email and ticket.